The Branding section acts as your brand toolkit inside SiteVibes. From here, you can set up your brand colors, upload reusable images, and create styled UI components (like buttons). Once saved, these brand elements are automatically available across all SiteVibes products, including:
Reviews & Q&A
Loyalty & Rewards
Emails
Social Proof
Popups
This keeps your brand consistent everywhere with no extra setup.
Access it by going to:
Settings → Branding
There are three areas in the toolkit:
Colors
Images
Components
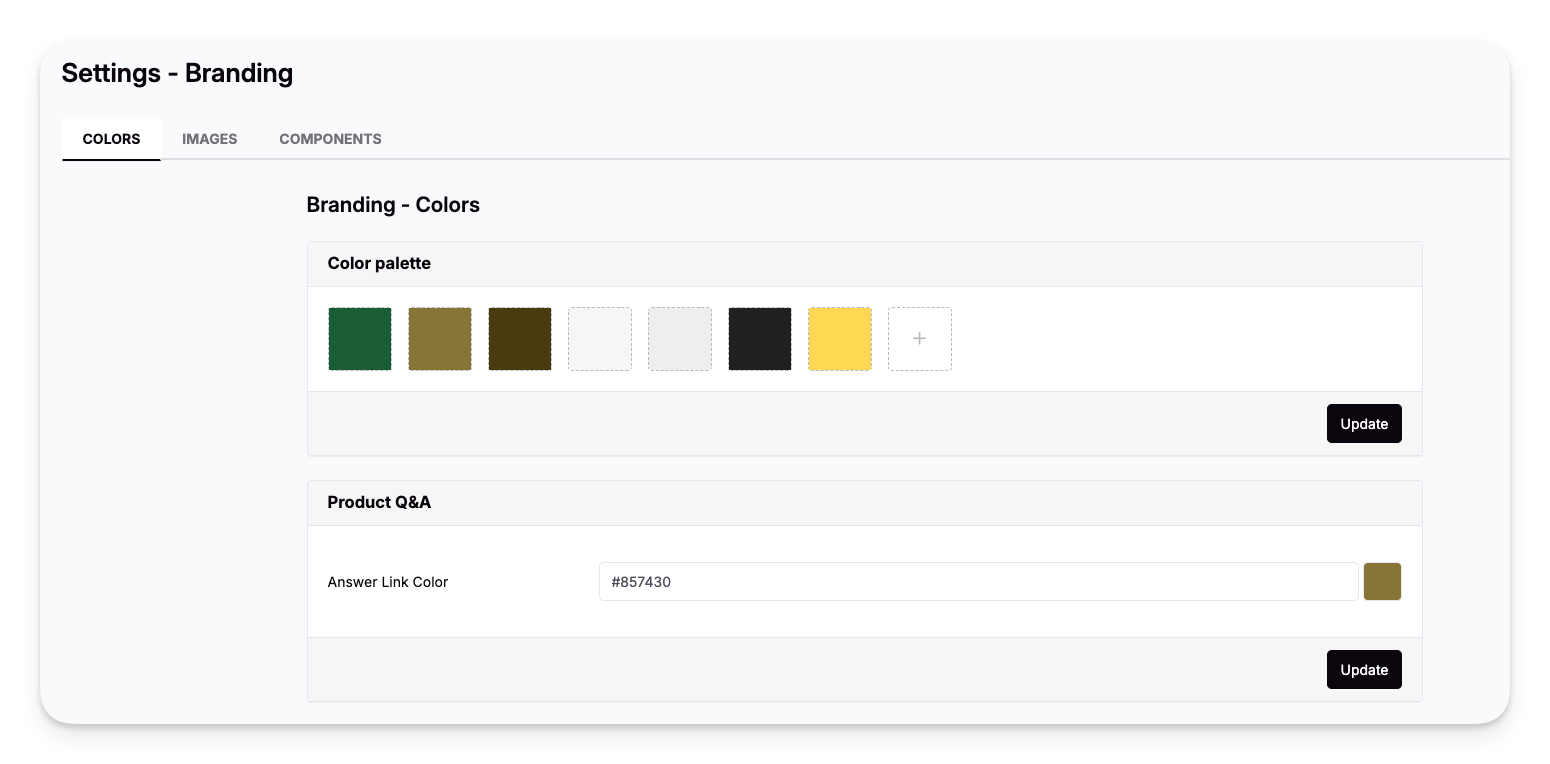
1. Colors
Use the Color Palette to set your brand colors. These colors can be applied instantly across SiteVibes modules.
How to Add or Edit Colors
Go to Settings → Branding → Colors
Click a color to change it, or click + to add a new one.
Enter a hex code or select from the picker.
Click Update.
Important:
Once added, your brand colors will appear as quick-select options in every color picker throughout SiteVibes — making styling fast and consistent.
2. Images
The Images section stores reusable visual assets for use in widgets, avatars, rewards, emails, and more.
How to Upload Images
Go to Settings → Branding → Images
Select Uploaded Images
Click Upload
Select your file
Supported formats: JPG, PNG
Recommended size: 500–800px width
Once uploaded, images are ready to use anywhere you see an image selector in SiteVibes.
3. Components
The Components section lets you create reusable UI styles such as buttons and inputs.
Buttons
Buttons styled here are used across on-site experiences and popups.
Go to Settings → Branding → Components → Buttons
Edit an existing style or click + to create a new one.
Adjust colors, gradients, text color, and shape.
Save to apply your button across SiteVibes modules.
Best Practices
If you need help matching your brand style, email us: support@sitevibes.com.
Was this article helpful?
That’s Great!
Thank you for your feedback
Sorry! We couldn't be helpful
Thank you for your feedback
Feedback sent
We appreciate your effort and will try to fix the article